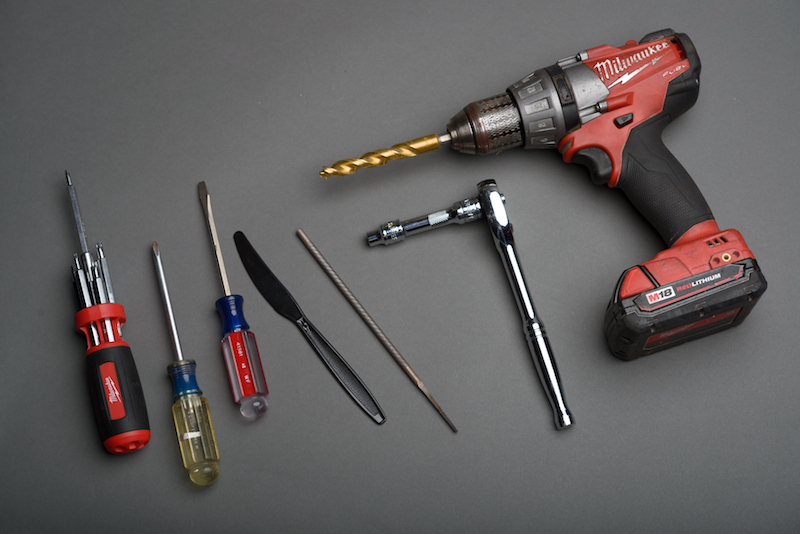
The Torx and socket sizes are different from those described in the focusfanatics thread. I used the following tools today:
• Phillips screwdriver.
• Small slotted screwdriver (to release brake light wiring harness clip).
• Plastic butter knife (to pull the interior trim panel off).
• Torx #20 bit.
• 8mm socket.
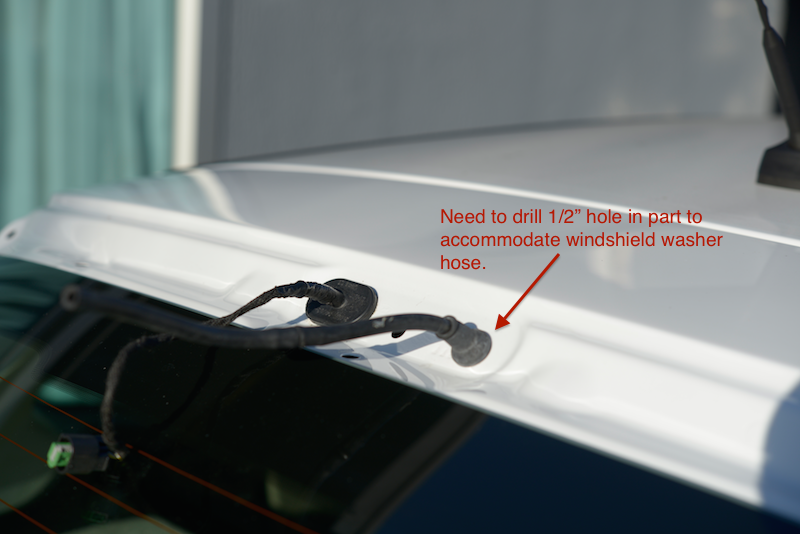
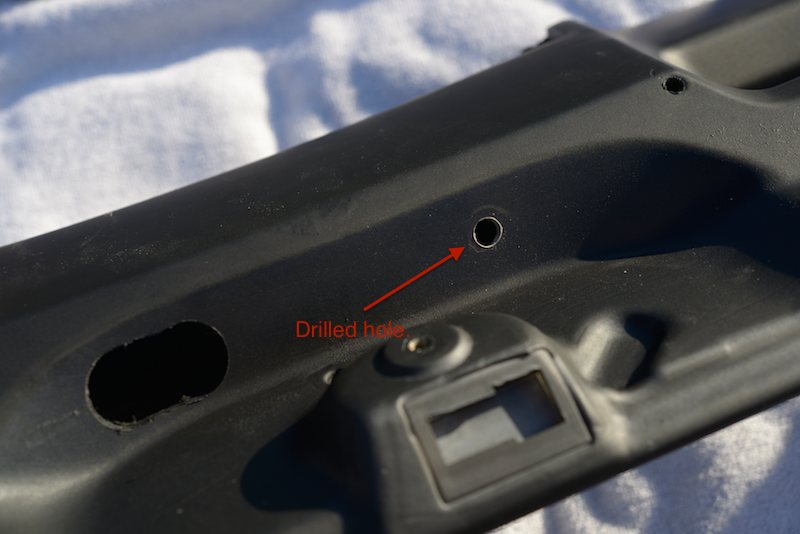
• 1/2" drill bit (needed to drill hole for windshield washer hose through back of replica part).
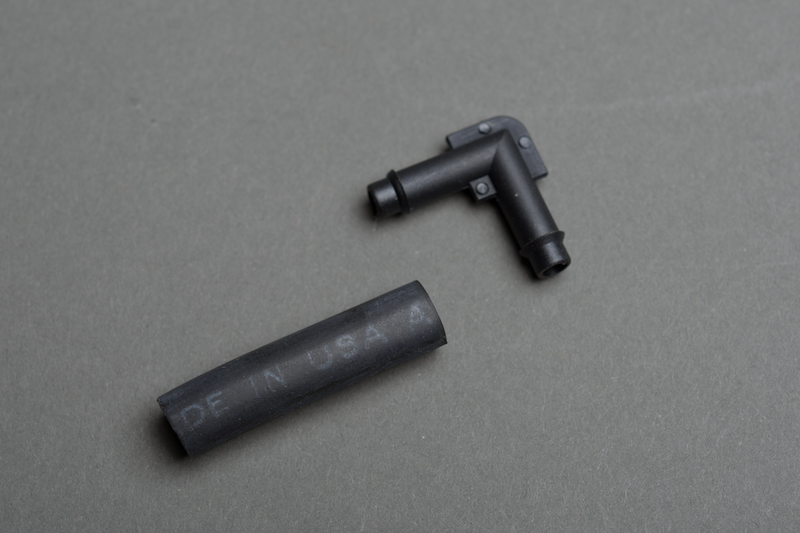
You'll need about 1.25" of 3/16" (ID), windshield wiper hose, and a 90-degree 3/16" union to re-seat the windshield washer line (which is mounted on the brake light). It's just too tight to get a grip onto the factory hose. The short piece of hose and union makes it easy to re-install the third brake light.
• 90-degree, 3/16" vacuum hose union (you only need one, not two).
• 1.25" piece of 3/16" windshield wiper hose.
• Small pieces of weather-strip (x3) to cover unused holes [edit: Home Depot weather-strip is too thick to cover the body holes, preventing the part from fully seating. I re-installed the part using metal HVAC tape instead; however, I did apply the weather strip along the entire length of the spoiler along the bottom].
I'd rate this as a 7.5 in difficulty, mainly because it's hard to find foam-rubber weather stripping that's thin enough. Fitment is compromised with the weather strip that Home Depot/Pep Boys carries--it's too thick. I'll look for some correctly spec'd foam, but in the meantime, though fitment isn't perfect (yet), it's good enough to drive around for awhile.
• Original machine bolts line-up correctly and are the correct thread for the embedded nuts in the replica part.
• There are only three threaded bolts used in the factory application (these are re-used for the replica part).
• There are four self-tapping screws used in the factory application (these are re-used for the replica part).
• There are three body clips in the factory installation that cannot be used on the replica part since they're molded into the factory spoiler.
• Two factory Torx screws are re-used to secure the third brake light.
• Need thinner foam (biggest problem).
• You only need one angle-union, and about 1" of tubing.
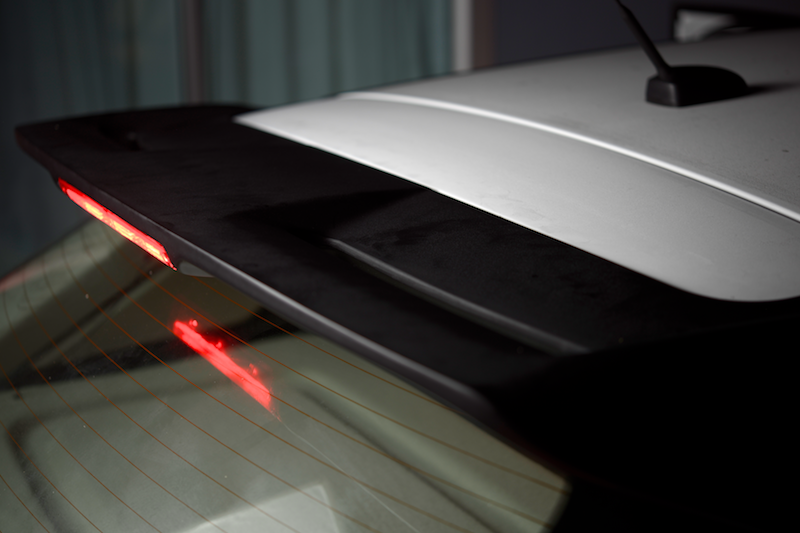
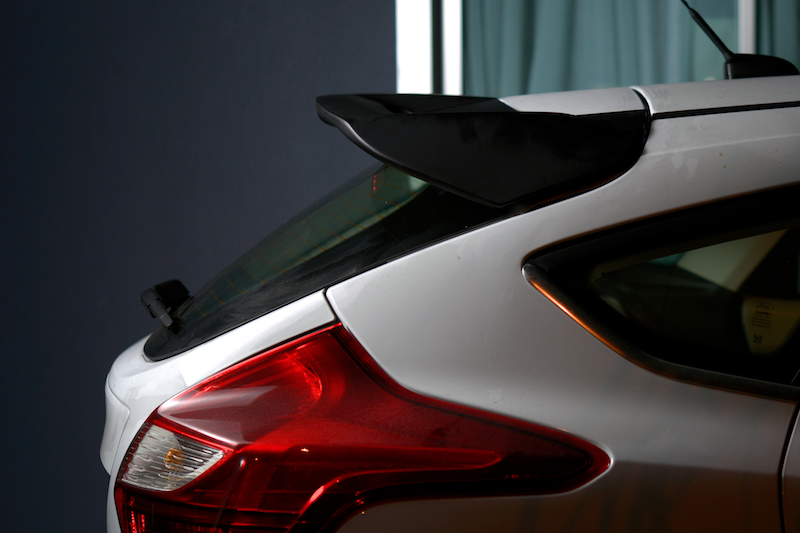
• The third brake light looks bad-ass in a black spoiler.